
DJI Handheld Series Product Charging Guide-Drone Fly BD
Learn More Osmo Series Product
Osmo Nano
Use a USB-C charger that complies with the standard PD 3.0 protocol and has a maximum output power of 30W or higher to charge.
Open the USB-C port cover, and use the included charging cable to connect the USB-C port to the charger.
Osmo 360
• Charging via the USB-C port.
Note: It is recommended to use a USB-C charger that supports PPS or PD.
• Charging via the multifunctional battery case.

Osmo Mobile Series
Osmo Mobile 8P/Osmo Mobile 8
Use the included power cable (USB-C to USB-C, 50 cm) to charge your gimbal until the battery level indicator turns off. In just 2.5 hours, the gimbal will be fully charged and ready to unleash your creativity!
💡[Tips] Enjoy up to 10 hours of battery life when the gimbal is balanced and stationary. Please note that actual usage time may vary depending on accessories, balance, and how features are used.
Osmo Mobile 8P
Osmo Mobile 8

Osmo Mobile 7P
Use the included power cable (USB-C to USB-C, 50 cm) to charge your gimbal until the battery level indicator turns off. In just 2.5 hours, the gimbal will be fully charged and ready to unleash your creativity!
💡[Tips] Enjoy up to 10 hours of battery life when the gimbal is balanced and stationary. Please note that actual usage time may vary depending on accessories, balance, and how features are used.
Osmo Mobile 7
Use the included power cable (USB-C to USB-C, 50 cm) to charge your gimbal until the battery level indicator turns off. In just 150 minutes, the gimbal will be fully charged and ready to unleash your creativity!
💡[Tips] Enjoy up to 10 hours of battery life when the gimbal is balanced and stationary. Please note that actual usage time may vary depending on accessories, balance, and how features are used.
Osmo Mobile 6
Connect the USB-C charger to the USB-C port on the right side of the product, and the battery can be fully charged in about 84 minutes by the charger with a maximum charging power of 10 W. After the battery is fully charged,the battery indicator icon on the status display panel is off. Remove the charger after charging is complete.

Osmo Mobile SE
Connect the USB-C charger to the USB-C port on the right side of the product, and the battery can be fully charged in about 132 minutes by the charger with a maximum charging power of 10 W. After the battery is fully charged, the battery indicator icon on the status display panel is off. Remove the charger after charging is complete.

DJI OM 5
Connect the USB-C charger to the USB-C port on the right side of the product, and the battery can be fully charged in about 90 minutes by the charger with a maximum charging power of 10 W. After the battery is fully charged, the Status LED turns off. Remove the charger after charging is complete.

DJI OM 4 & DJI OM 4 SE
Connect the USB-C charger to the USB-C port on the right side of the product, and the battery can be fully charged in about 150 minutes by the charger with a maximum charging power of 10 W. After the battery is fully charged, the Status LED turns off. Remove the charger after charging is complete.

Osmo Mobile 3
Connect the USB-C charger to the USB-C port on the right side of the product, and the battery can be fully charged in about 150 minutes by the charger with a maximum charging power of 10 W. After the battery is fully charged, the Status LED turns off. Remove the charger after charging is complete.

Osmo Action Series
Osmo Action 6
Osmo Action 5 Pro
Installing the Battery: Press the Release button on the battery compartment cover, push the cover forward, and insert the battery into the battery compartment after opening the cover.
Charging Method: Press the Release button on the USB-C port cover and slide the cover down. Connect a charger to the USB-C port using the Type-C to Type-C PD cable included in the package. It takes about 53 minutes to fully charge the battery.
It is recommended to use the charging devices provided by DJI, such as DJI 30W USB-C Charger or other USB-C chargers that support Power Delivery or PPS.
• Osmo Action Multifunctional Battery Case
Through the USB-C port, the battery case is capable of charging three extreme batteries simultaneously, taking approximately 2 hours and 25 minutes to fully charge all of them. Additionally, it has the capacity to charge external devices such as smartphones.
Note: The battery case can store two microSD cards.
Osmo Action 4/Osmo Action 3
Press the Release button on the USB-C port cover and slide the cover down. Connect the USB-C charger to the USB-C port, and the battery can be fully charged in about 58 minutes by using the DJI 30W USB-C Charger. After the battery is fully charged, the Status LED turns off. Remove the charger after charging is complete.
It is recommended to use the DJI 30W USB-C Charger or a USB-C charger that supports PPS/PD fast charging protocol, along with the USB-C to USB-C PD Cable provided in the combo, to charge the Osmo Action 4/Osmo Action 3.
Charging Using the DJI 30W USB-C Cable
Power off the camera, and connect it to a charger via the DJI 30W USB-C Cable. The status LEDs blink green during the charging process, and turn off when the battery is fully charged. It takes about 18 minutes to charge the battery to 80%, and the battery can be fully charged in about 49 minutes.
Charging the Camera Using the Multifunctional Battery Case
Connect the multifunctional battery case to a power source using the DJI 30W USB-C Charger. The batteries with the highest power level will be charged first, followed by the remaining batteries to be charged in sequence. It takes approximately two hours to fully charge three batteries.
DJI Action 2
Connect the USB-C charger to the USB-C port on the right side of the front touchscreen module or the power module. The battery can be fully charged in about 1 hours and 30 minutes by the charger with a maximum charging power of 10 W. After the battery is fully charged, the Status LED turns off. Remove the charger after charging is complete.
Osmo Action
Press the cover release button on the USB-C cover and slide the cover down. Connect the USB-C charger to the USB-C port, and the battery can be fully charged in about 1 hours and 30 minutes by the charger with a maximum charging power of 10 W. After the battery is fully charged, the Status LED turns off. Remove the charger after charging is complete.
Osmo Pocket Series
Osmo Pocket 4P
It is recommended to use DJI 65W Portable Charger, 30W USB-C Charger, or a USB-C charger that supports PD fast charging protocol. When charging Osmo Pocket 4P with the Type-C to Type-C PD Cable provided in the combo, the camera screen will display the current battery level when the camera is off. (Note: When Super Fast Charging is triggered, a “lightning bolt” icon will be displayed.) The camera takes approximately 18 minutes to charge up to 80% state of charge (SoC), and around 32 minutes to fully charge*.
* Tested in a laboratory environment with the DJI 65W PD charger (sold separately).
Osmo Pocket 4
It is recommended to use DJI 65W Portable Charger, 30W USB-C Charger, or a USB-C charger that supports PD fast charging protocol. When charging Osmo Pocket 4 with the Type-C to Type-C PD Cable provided in the combo, the camera screen will display the current battery level when the camera is off. (Note: When Super Fast Charging is triggered, a “lightning bolt” icon will be displayed.) The camera takes approximately 18 minutes to charge up to 80% state of charge (SoC), and around 32 minutes to fully charge*.
* Tested in a laboratory environment with the DJI 65W PD charger (sold separately).
Osmo Pocket 3
It is recommended to use DJI 65W Portable Charger, 30W USB-C Charger, or a USB-C charger that supports PD fast charging protocol. When charging Osmo Pocket 3 with the Type-C to Type-C PD Cable provided in the combo, the camera screen will display the current battery level when the camera is off. (Note: The screen prompts “Fast Charging” when fast charging is triggered, and prompts “Charging” when in normal charging state.) The camera takes approximately 16 minutes to charge up to 80% state of charge (SoC), and around 32 minutes to fully charge*.
* Tested in a laboratory environment with the DJI 65W PD charger (sold separately).
DJI Pocket 2
Connect the USB-C charger to the USB-C port at the bottom of DJI Pocket 2, and the battery can be fully charged in about 1 hours and 13 minutes by the charger with a maximum charging power of 10 W. After the battery is fully charged, the Status LED turns off. Remove the charger after charging is complete.
Osmo Pocket
Connect the USB-C charger to the USB-C port at the bottom of the product, and the battery can be fully charged in about 1 hours and 13 minutes by the charger with a maximum charging power of 10W. After the battery is fully charged, the Status LED turns off. Remove the charger after charging is complete.
Recommended Charger Wattage
| Product | Recommended Charger |
|---|---|
| Osmo Pocket Series | 30W USB-C PD |
| Osmo Action Series | 18W–30W PD |
| Osmo Mobile Series | 10W–18W |
| DJI Mic Series | 18W USB-C |
Using chargers with higher wattage is generally safe, as DJI devices only draw the power they require when using compliant USB Power Delivery chargers.
Battery Care Tips
To maximize battery lifespan:
- Avoid completely draining the battery regularly.
- Recharge before the battery reaches 0%.
- Store batteries at around 40%–60% charge if not used for an extended period.
- Keep batteries away from direct sunlight and high temperatures.
- Do not expose batteries to water or excessive moisture.
- Charge in a cool, well-ventilated environment.
- Use only genuine DJI batteries and accessories.
Frequently Asked Questions
Can I use my phone charger?
Yes, provided it is a high-quality USB-C charger that supports USB Power Delivery (PD) and meets DJI's recommended wattage.
Is fast charging safe?
Yes. DJI handheld products are designed to support fast charging with compatible PD chargers.
Can I charge with a power bank?
Yes. A PD-supported USB-C power bank is an excellent option for outdoor shooting and travel.
Should I keep the device plugged in after it reaches 100%?
It is recommended to disconnect the charger after charging is complete to help preserve long-term battery health.
Can I use third-party USB-C cables?
While many quality USB-C cables work, DJI recommends using original or certified cables to ensure stable charging and data transfer.
Common Charging Mistakes to Avoid
- Using cheap or uncertified chargers
- Charging in extremely hot environments
- Using damaged charging cables
- Storing batteries fully discharged for long periods
- Leaving batteries in direct sunlight
- Ignoring firmware updates that improve battery management
Buy Genuine DJI Handheld Products in Bangladesh
If you're looking for genuine DJI handheld products, accessories, batteries, or charging equipment in Bangladesh, Drone Fly BD offers a wide selection of authentic DJI products along with expert support.
Our team can help you choose the right charger, battery, or accessory for your DJI device and provide guidance on proper maintenance to keep your equipment performing at its best.
Final Thoughts
Proper charging habits play a vital role in maintaining the performance and longevity of your DJI handheld devices. By using DJI-recommended chargers, following safe charging practices, and taking good care of your batteries, you can ensure reliable performance whether you're filming adventures, creating content, or working professionally.
For genuine DJI products, expert advice, and after-sales support in Bangladesh, trust Drone Fly BD as your reliable DJI partner.
Comments (0)
Related Posts
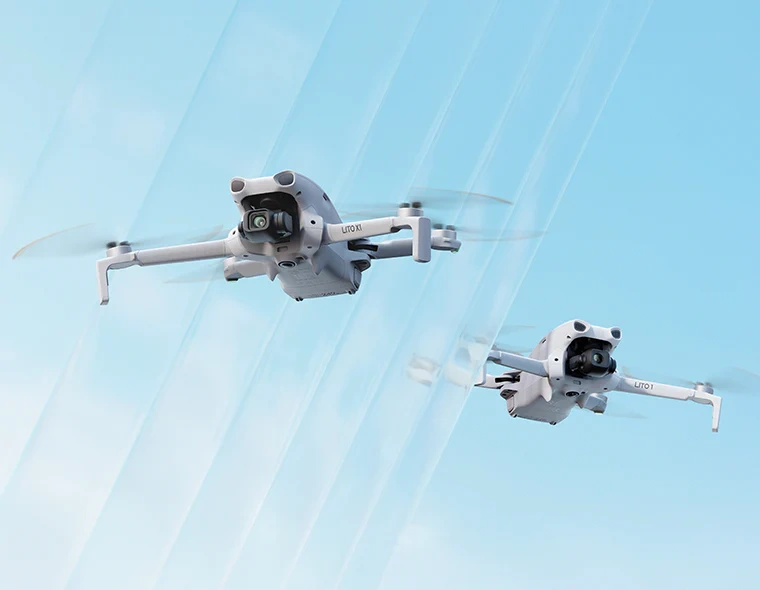
Drone Price in Bangladesh 2026 – Complete Buyer's Guide (DJI, GPS & Budget Drones)
Looking for drone prices in Bangladesh? This 2026 guide covers all drone categories - DJI drones, GPS drones, and budget...
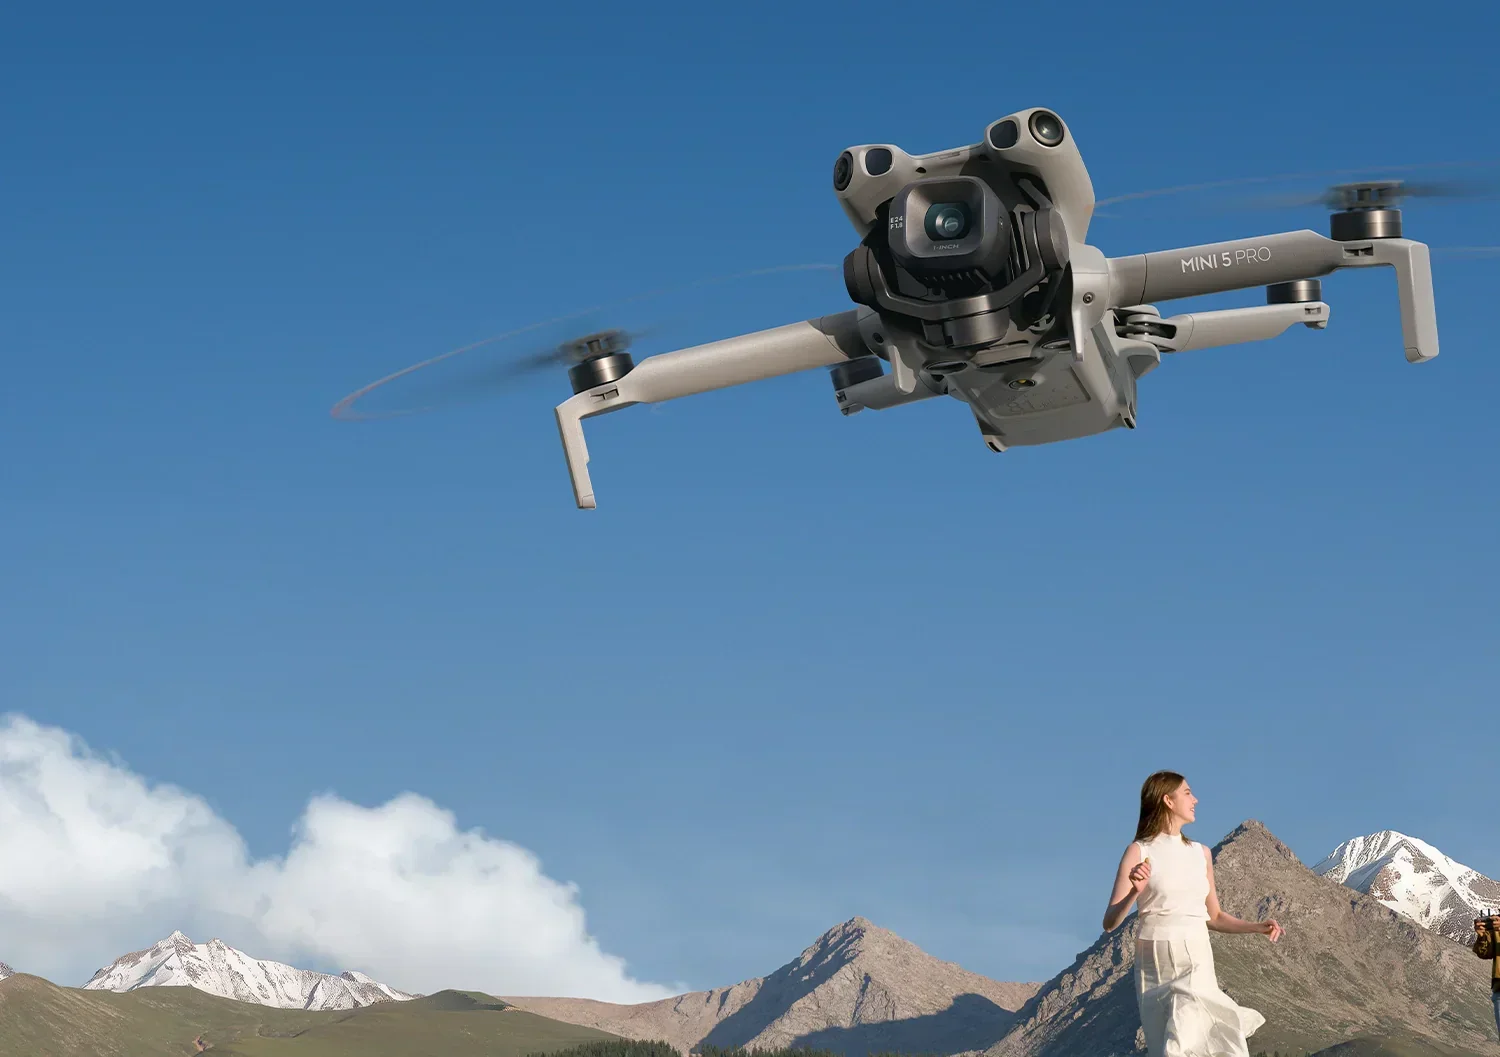
DJI Mini 5 Pro Price in Bangladesh
DJI Mini 5 Pro Price in Bangladesh – Full Review & Features (2026)DJI Mini 5 Pro Price in BangladeshThe DJI Mini 5 P...

DJI Fly and DJI GO 4 Flight Record & Flight Controller Data Export Guide
DJI FlyAndroid Devices1. Connect the mobile device to the computer with the USB cable and open the disk.2. Find and open...